Using QR Codes
Print QR codes for orders and people, then scan them in Build to check in, open drawings, and read an order.
Last updated 19 days ago
Introduction
QR codes are how the shop floor works hands-free. Print them onto your drawings and onto badges for your team, then scan them in Build to check people into orders, pull up drawings, and open an order’s details without typing anything.
Printing comes first, because you need the codes before you can scan them.
Printing QR Codes
For Orders
Go to Build and open the order you want to print for.
At the top of the order detail, click the More menu (three dots) and choose Print QR Traveler.
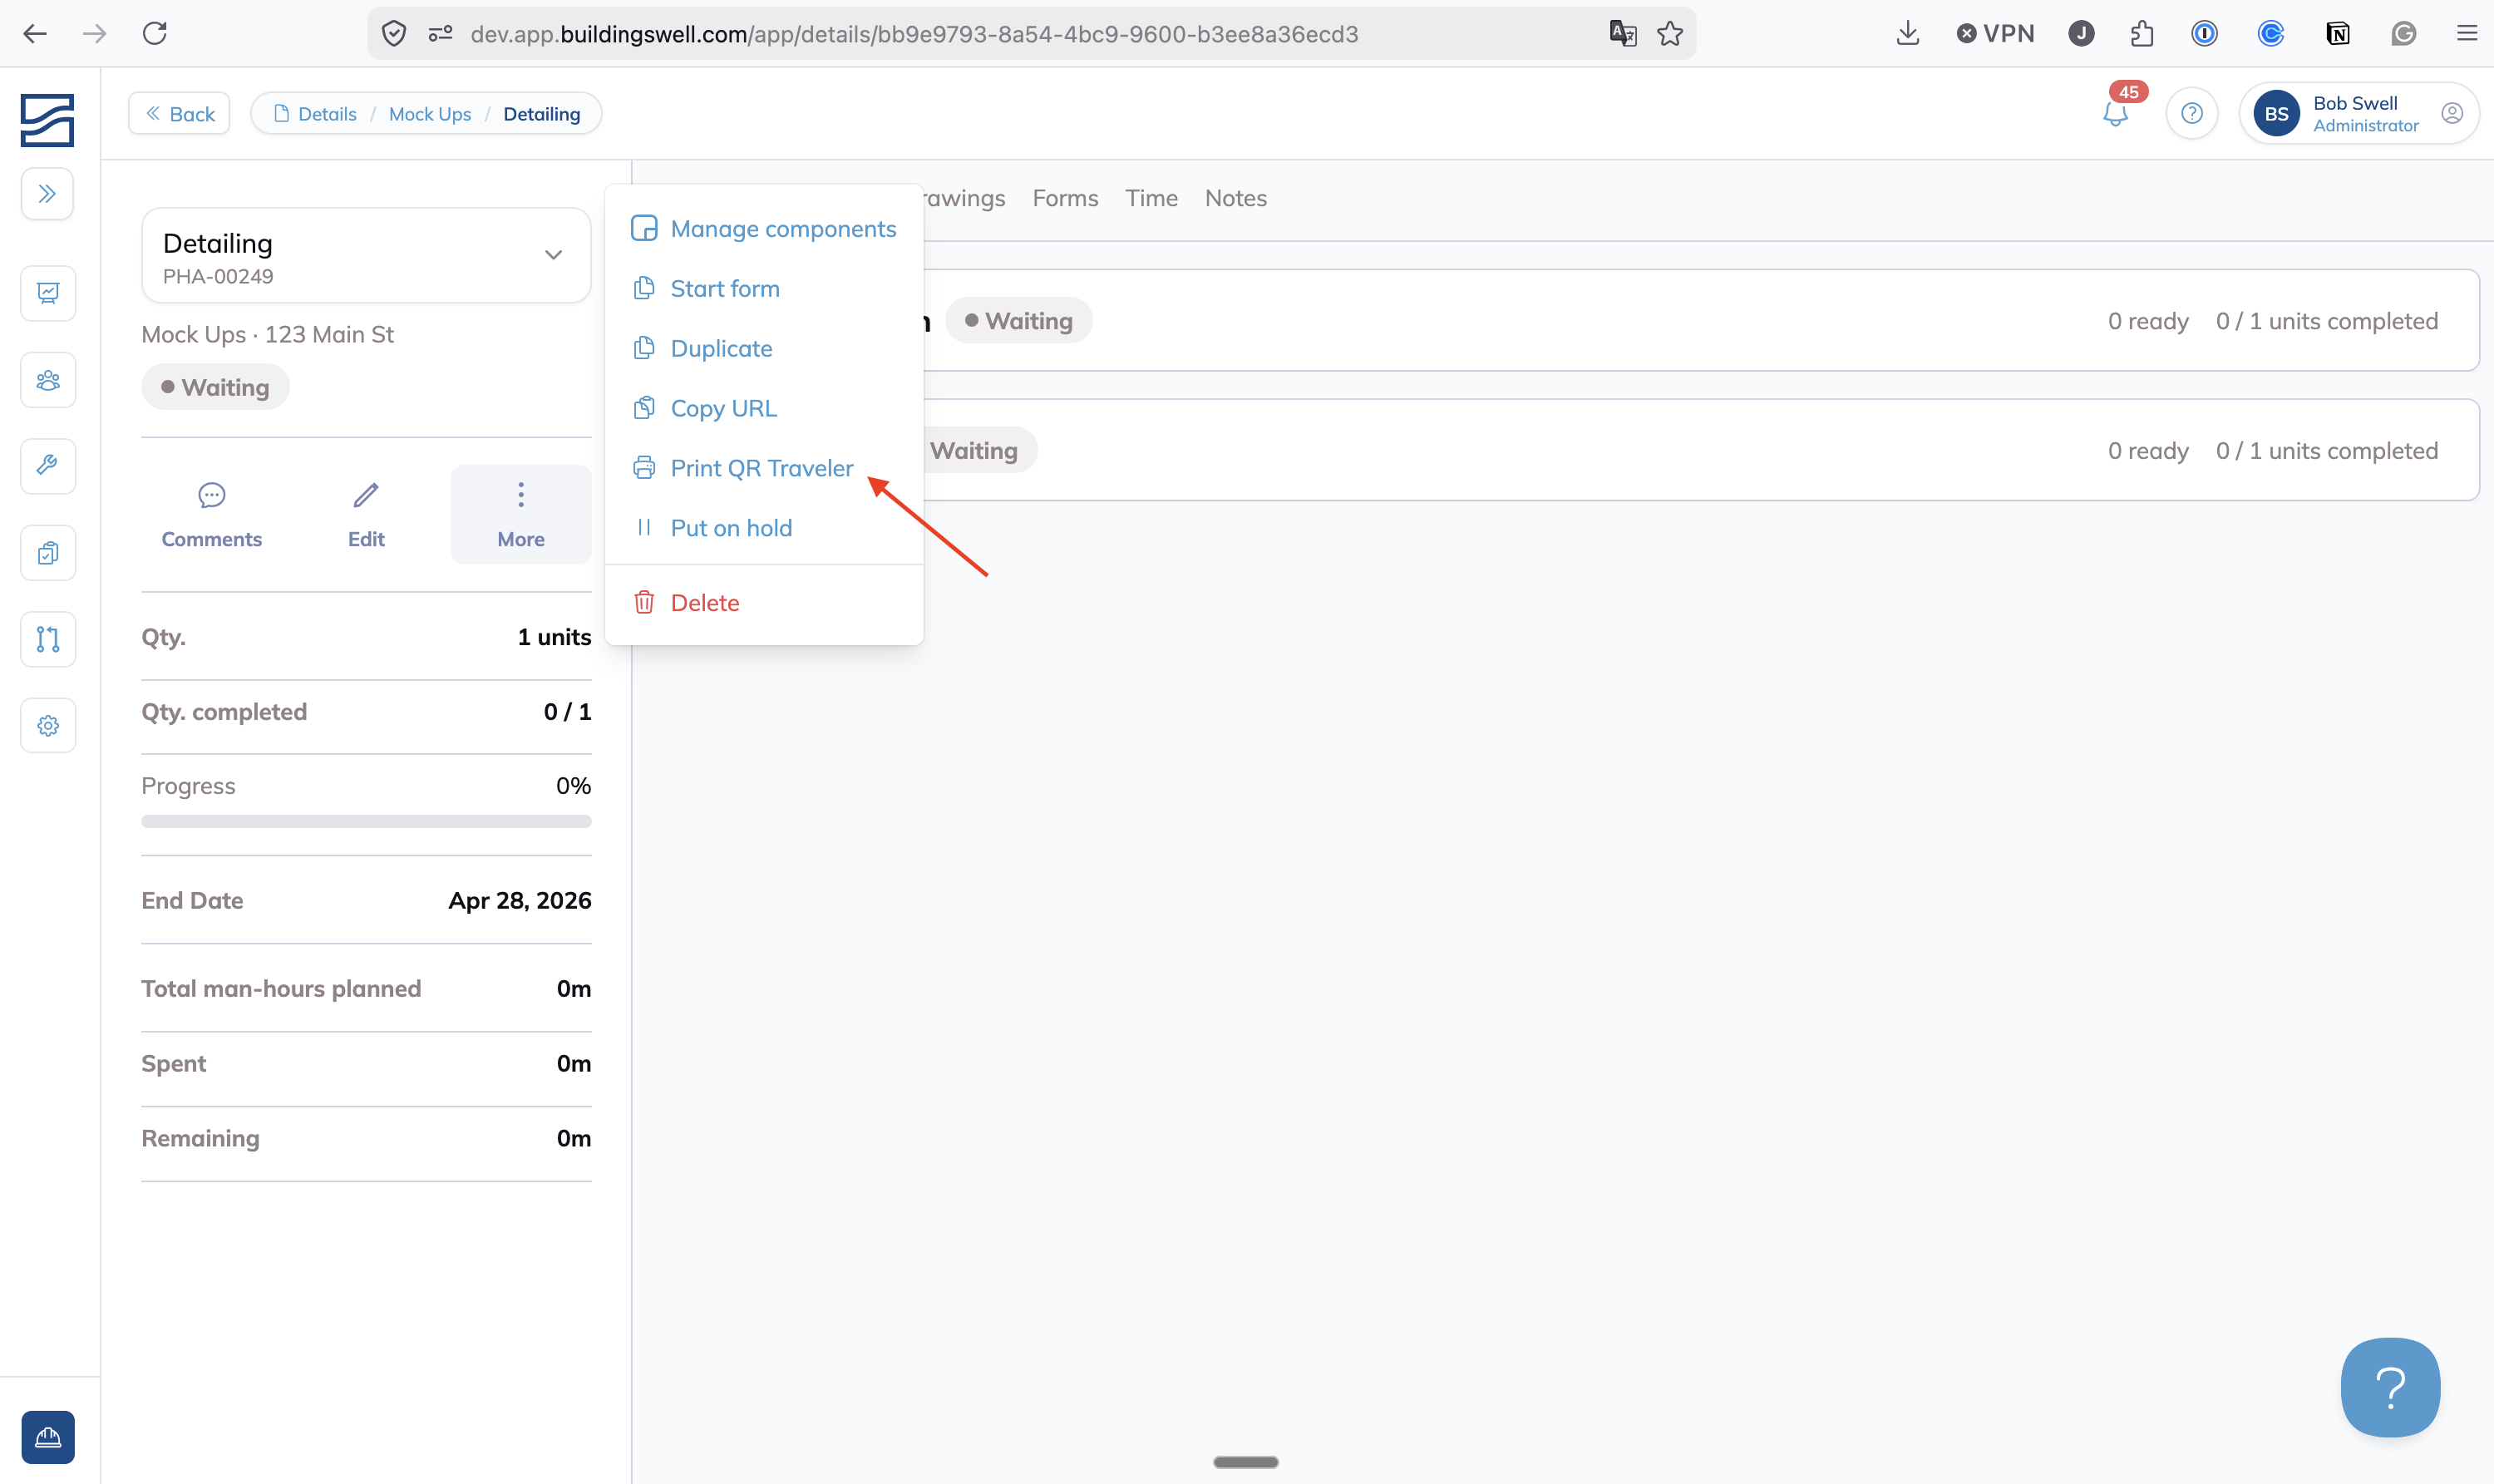
A print page is generated with all the QR codes for the selected orders.
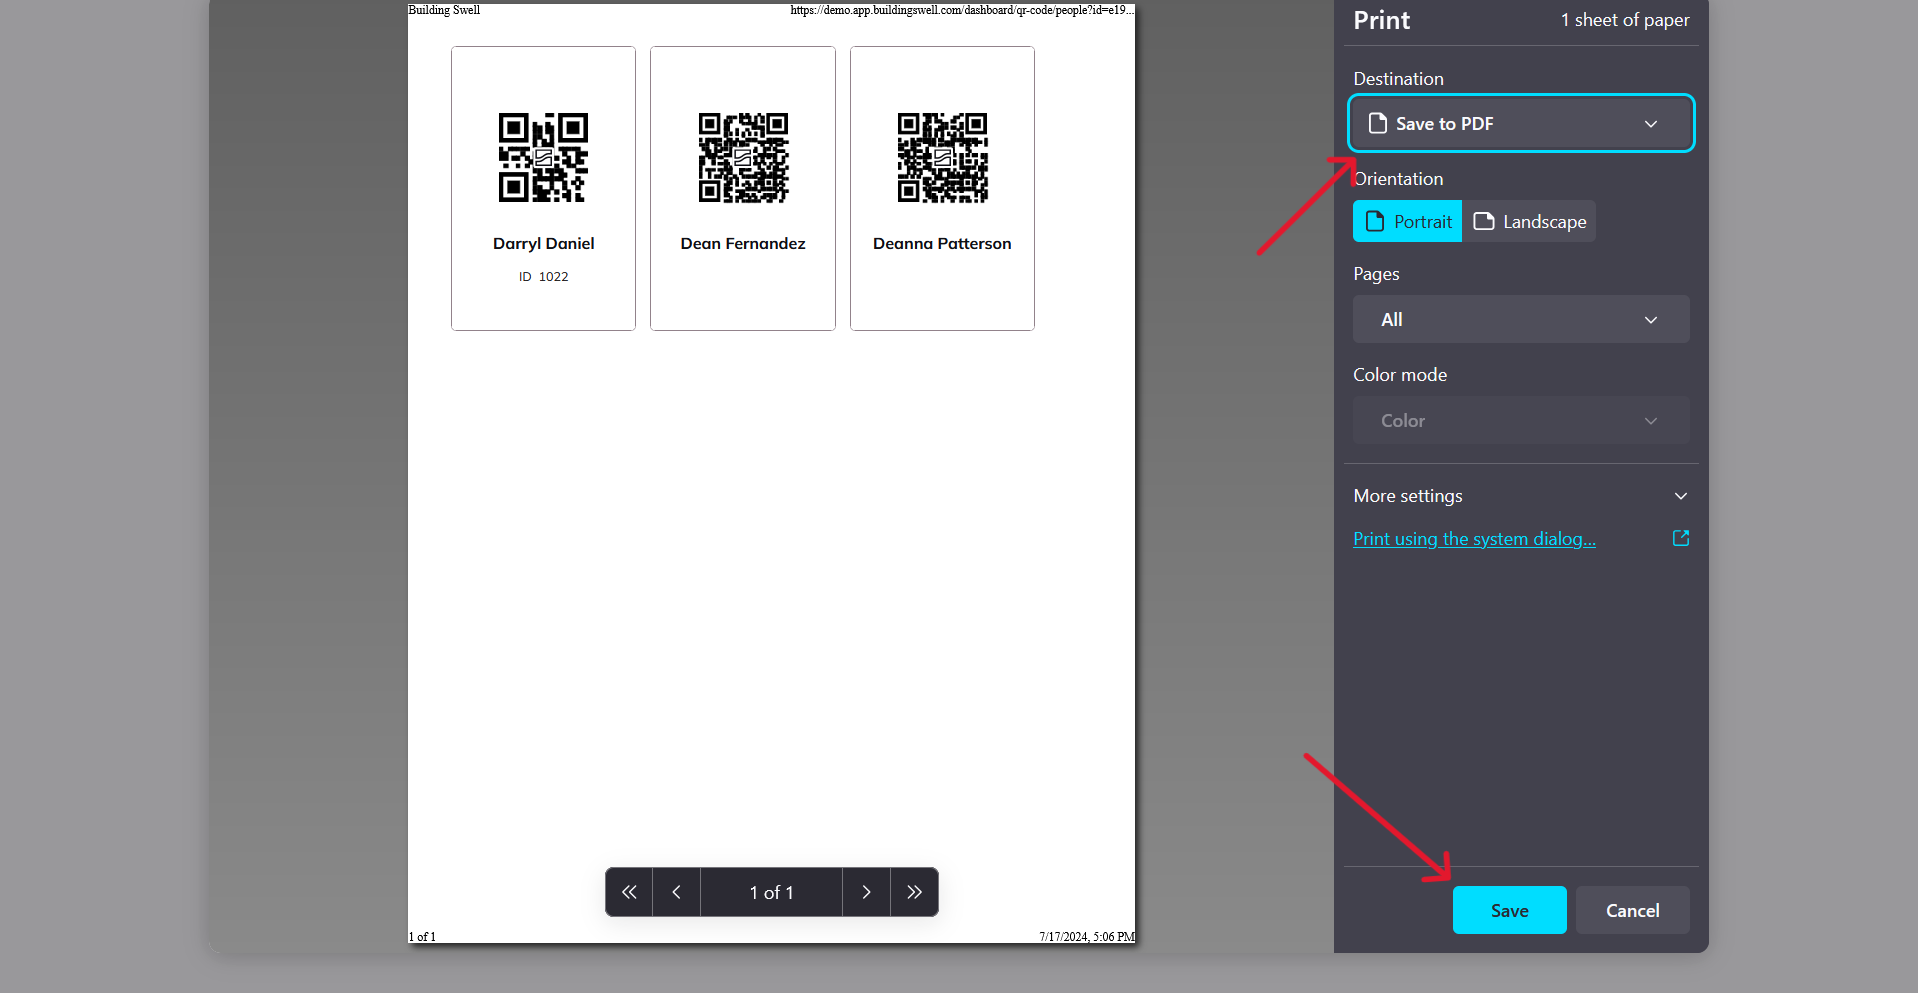
Click Save or Print to finish.
For People
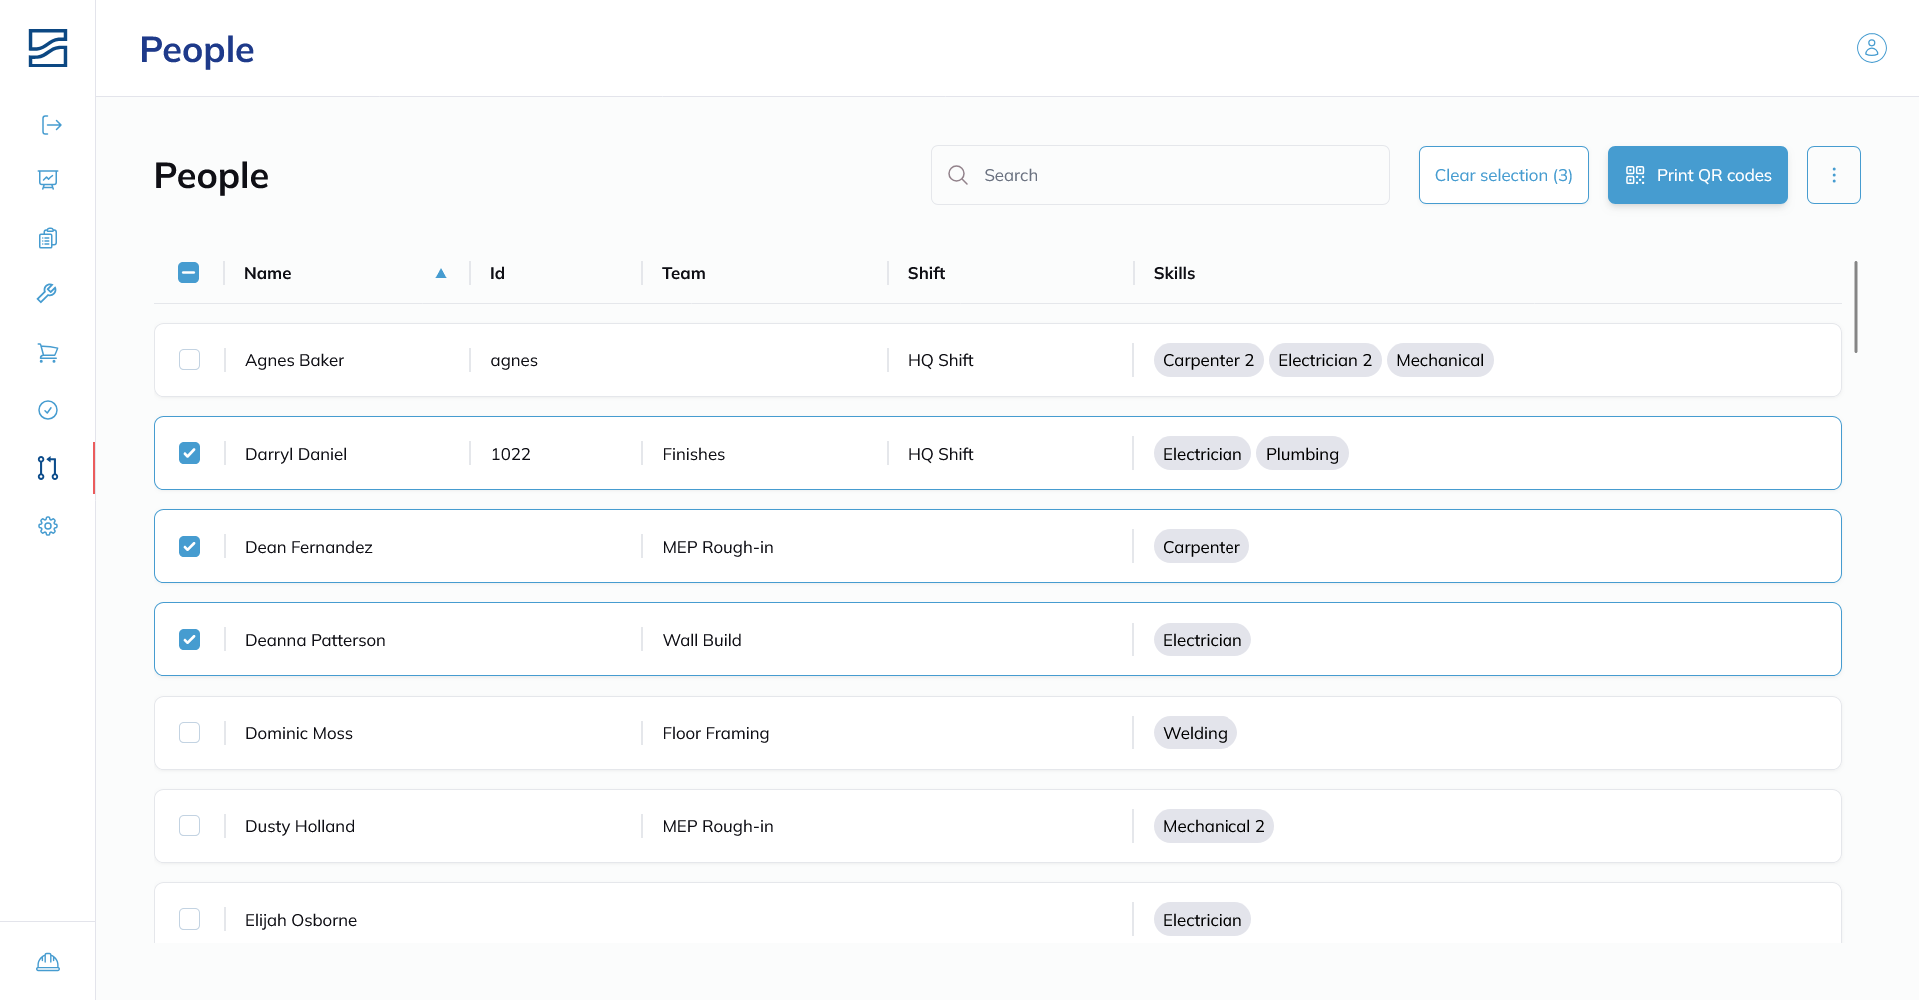
Go to Rules Engine and open People.
Check the boxes next to the people whose codes you want.
Click Print QR codes.
You can save the codes as a PDF to print later, or print them directly.
Laminate the badges
Personnel codes get handled every day. Laminating them is the difference between a badge that lasts and one that stops scanning in a month. Print in batches to save time, and scan one sample after printing to check it reads before you hand them out.
Scanning in Build
Open the Scanner
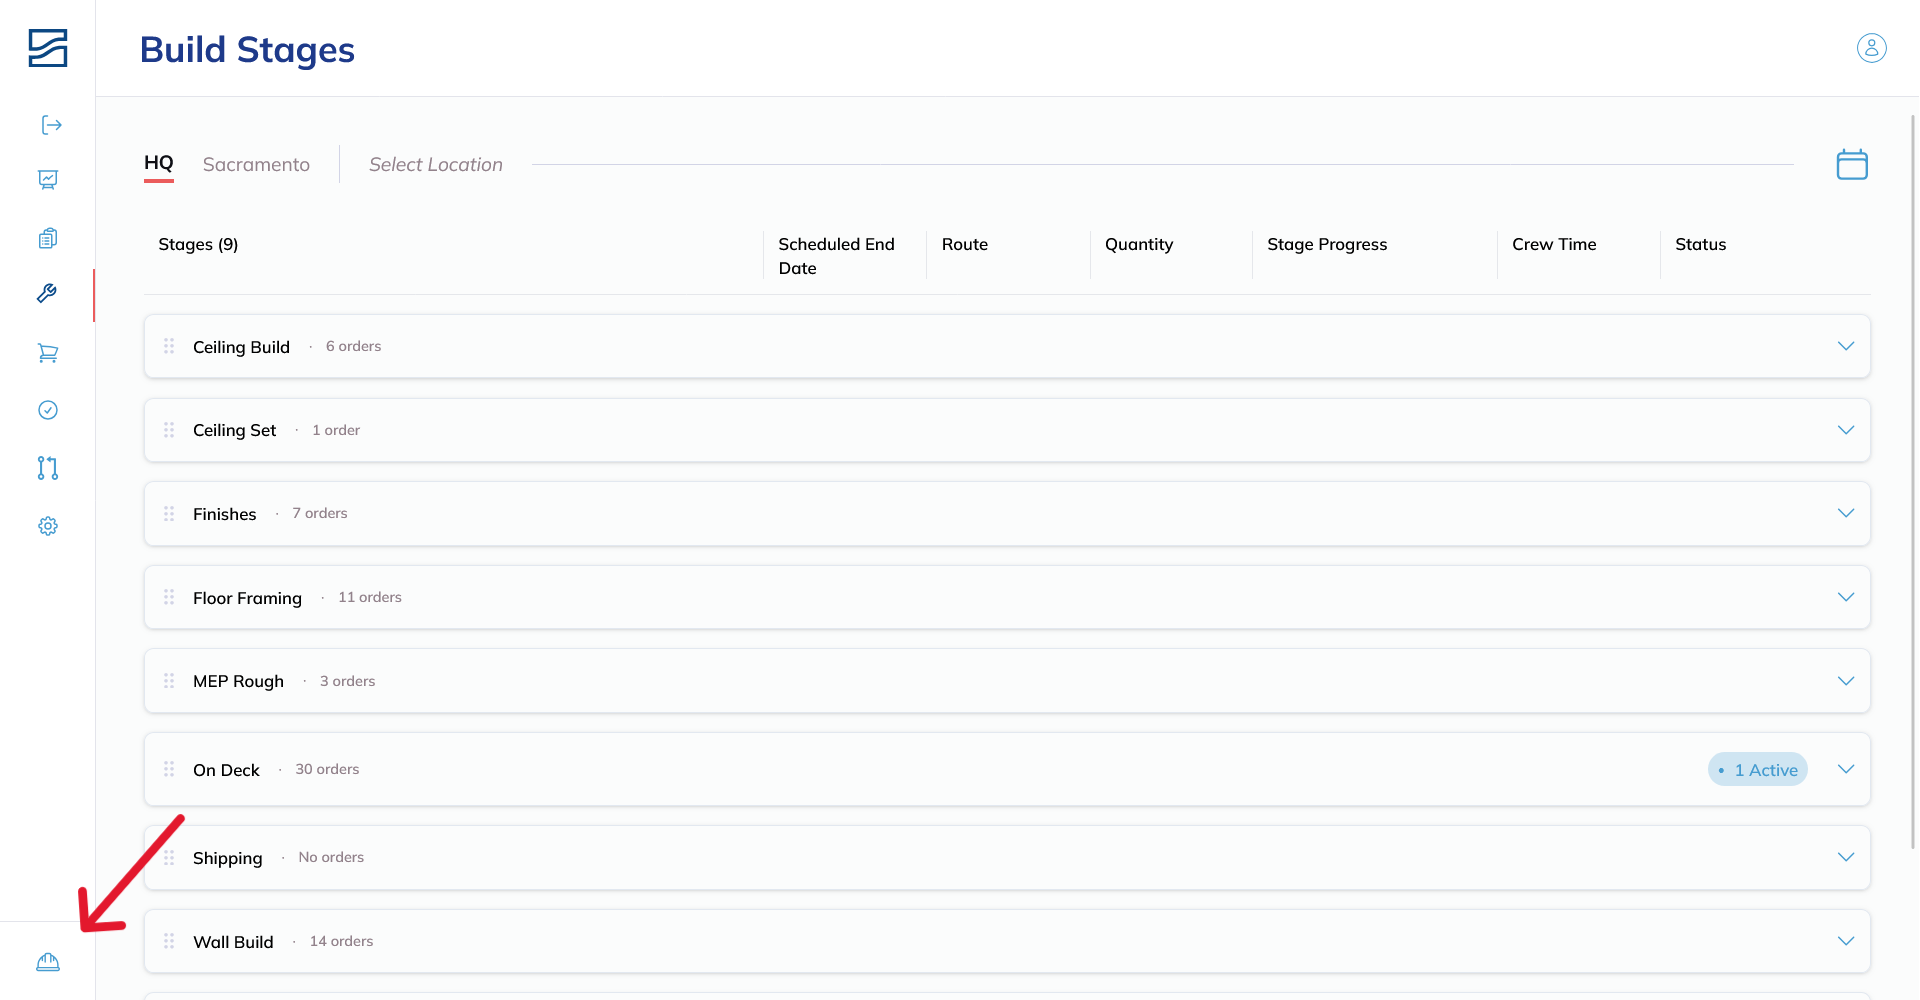
Go to Build: click the hard hat icon in the bottom left. On a phone or tablet, tap the Build circle in the bottom navigation bar.
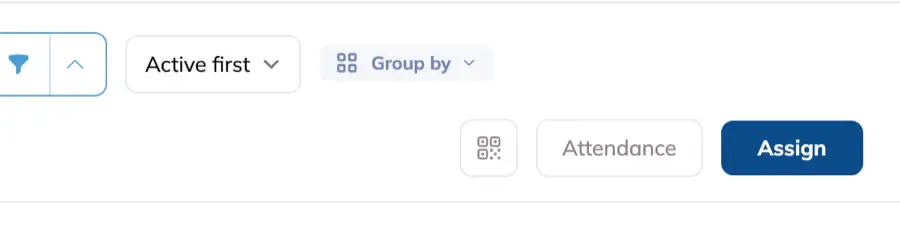
At the top right, click QR Scanner. On a phone or tablet, tap Controls and pick Scan.
Check People into an Order
Align each person’s QR code in the centre of the target area and scan it. You can scan several people one after another.
Then scan the order QR code. Everyone you just scanned is assigned to that order station.
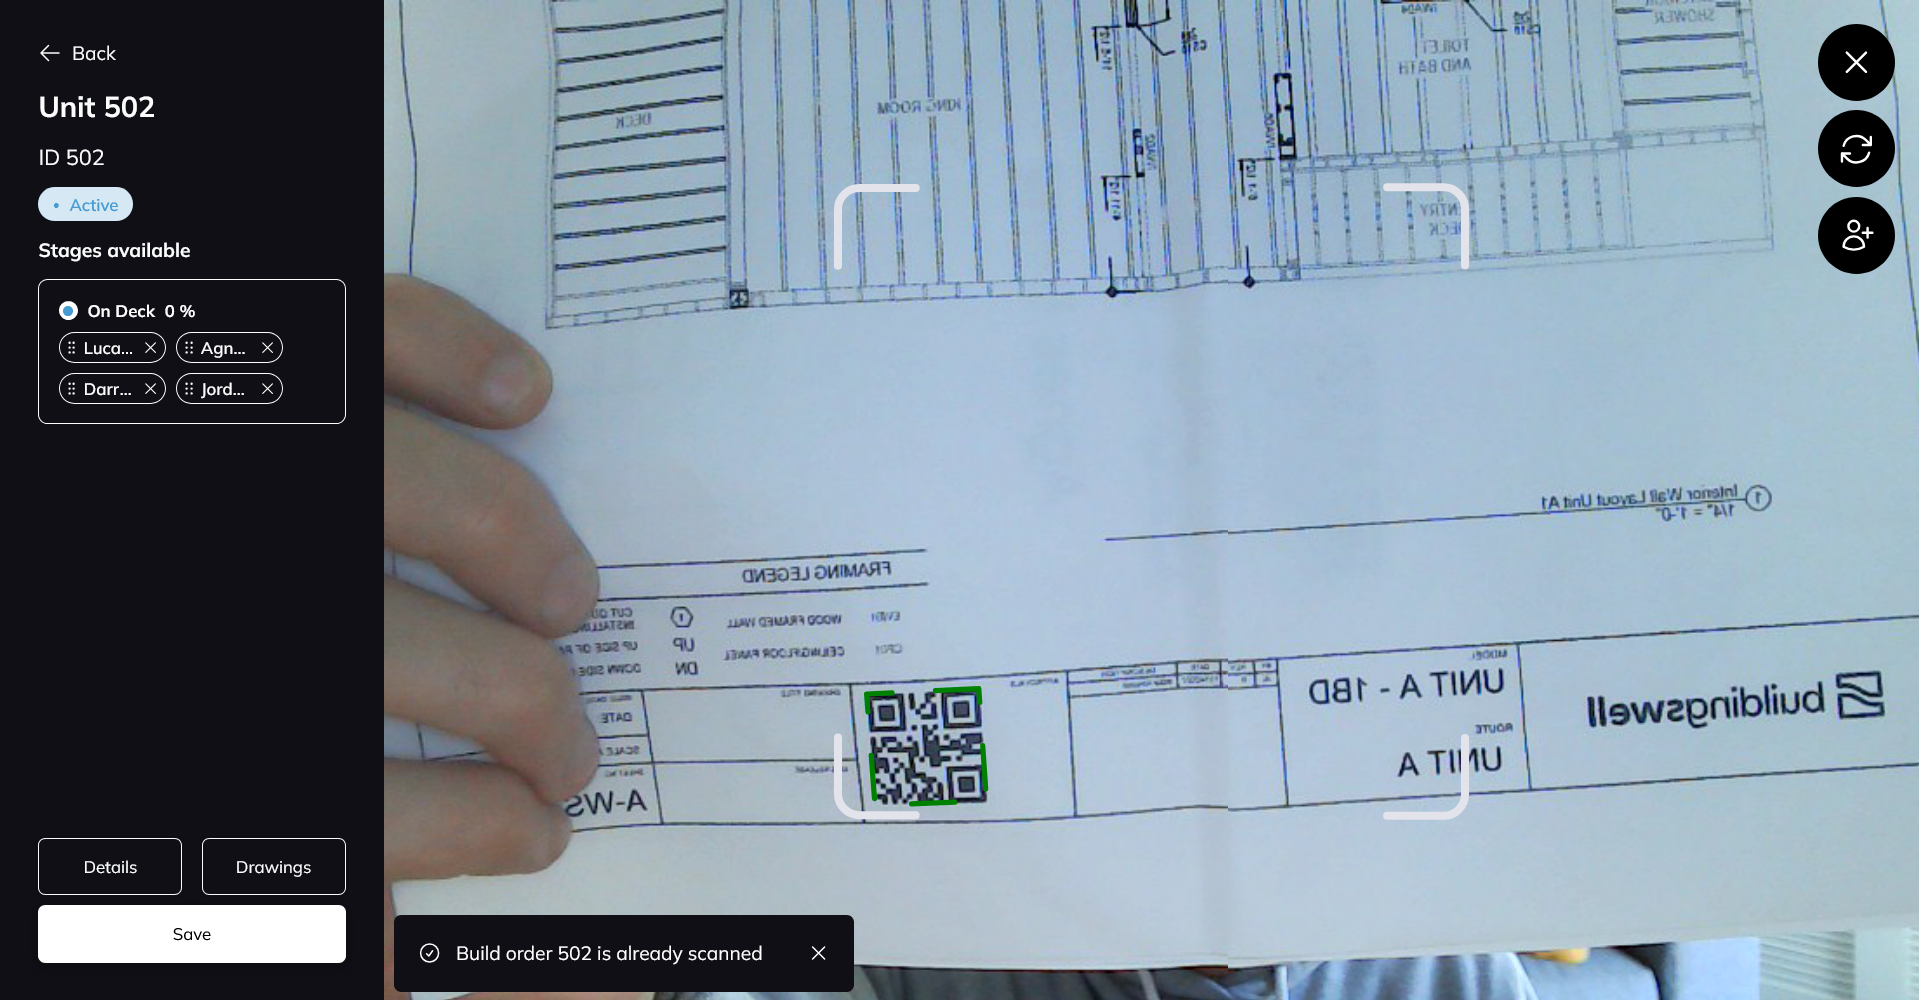
Click Save to confirm the check-in, and update each person’s check-in time if you are prompted.
Pull Up Drawings
Leave the current scan and re-enter QR code mode.
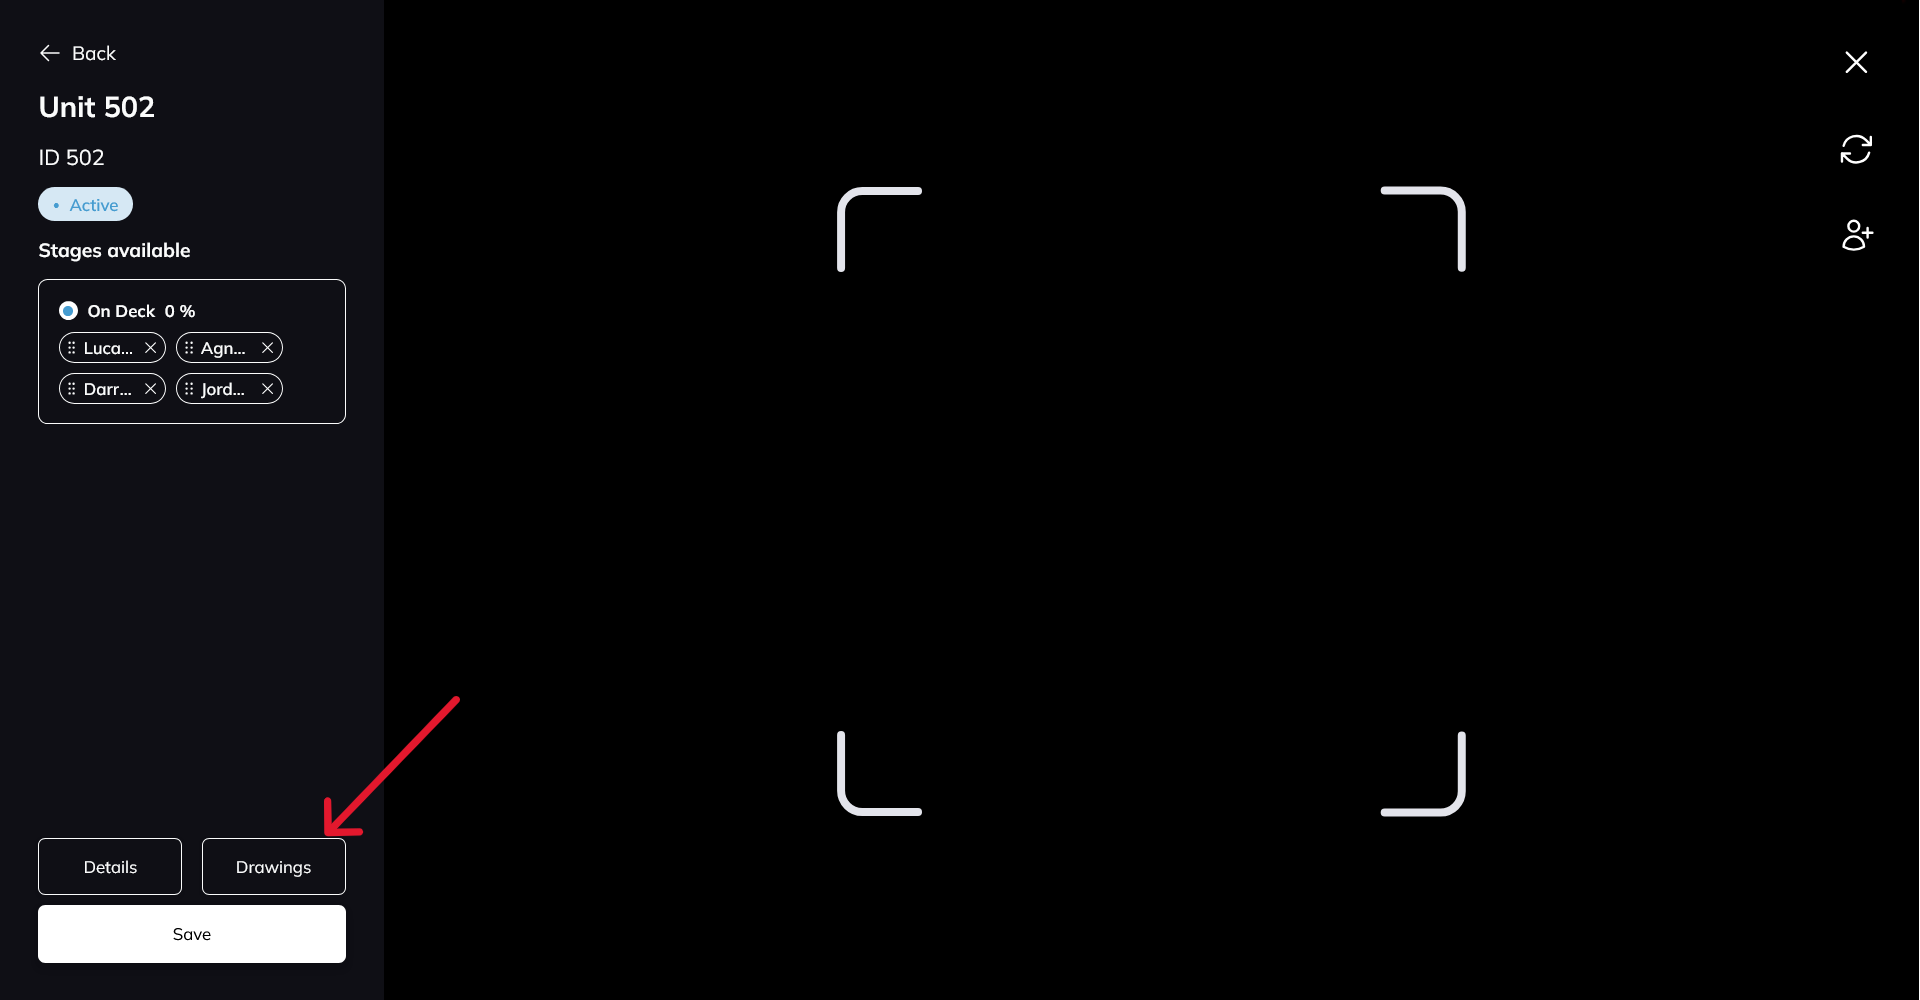
Scan the order’s QR code.
At the bottom left, click Drawings to open the synced drawings and the bill of process.
Open an Order’s Details
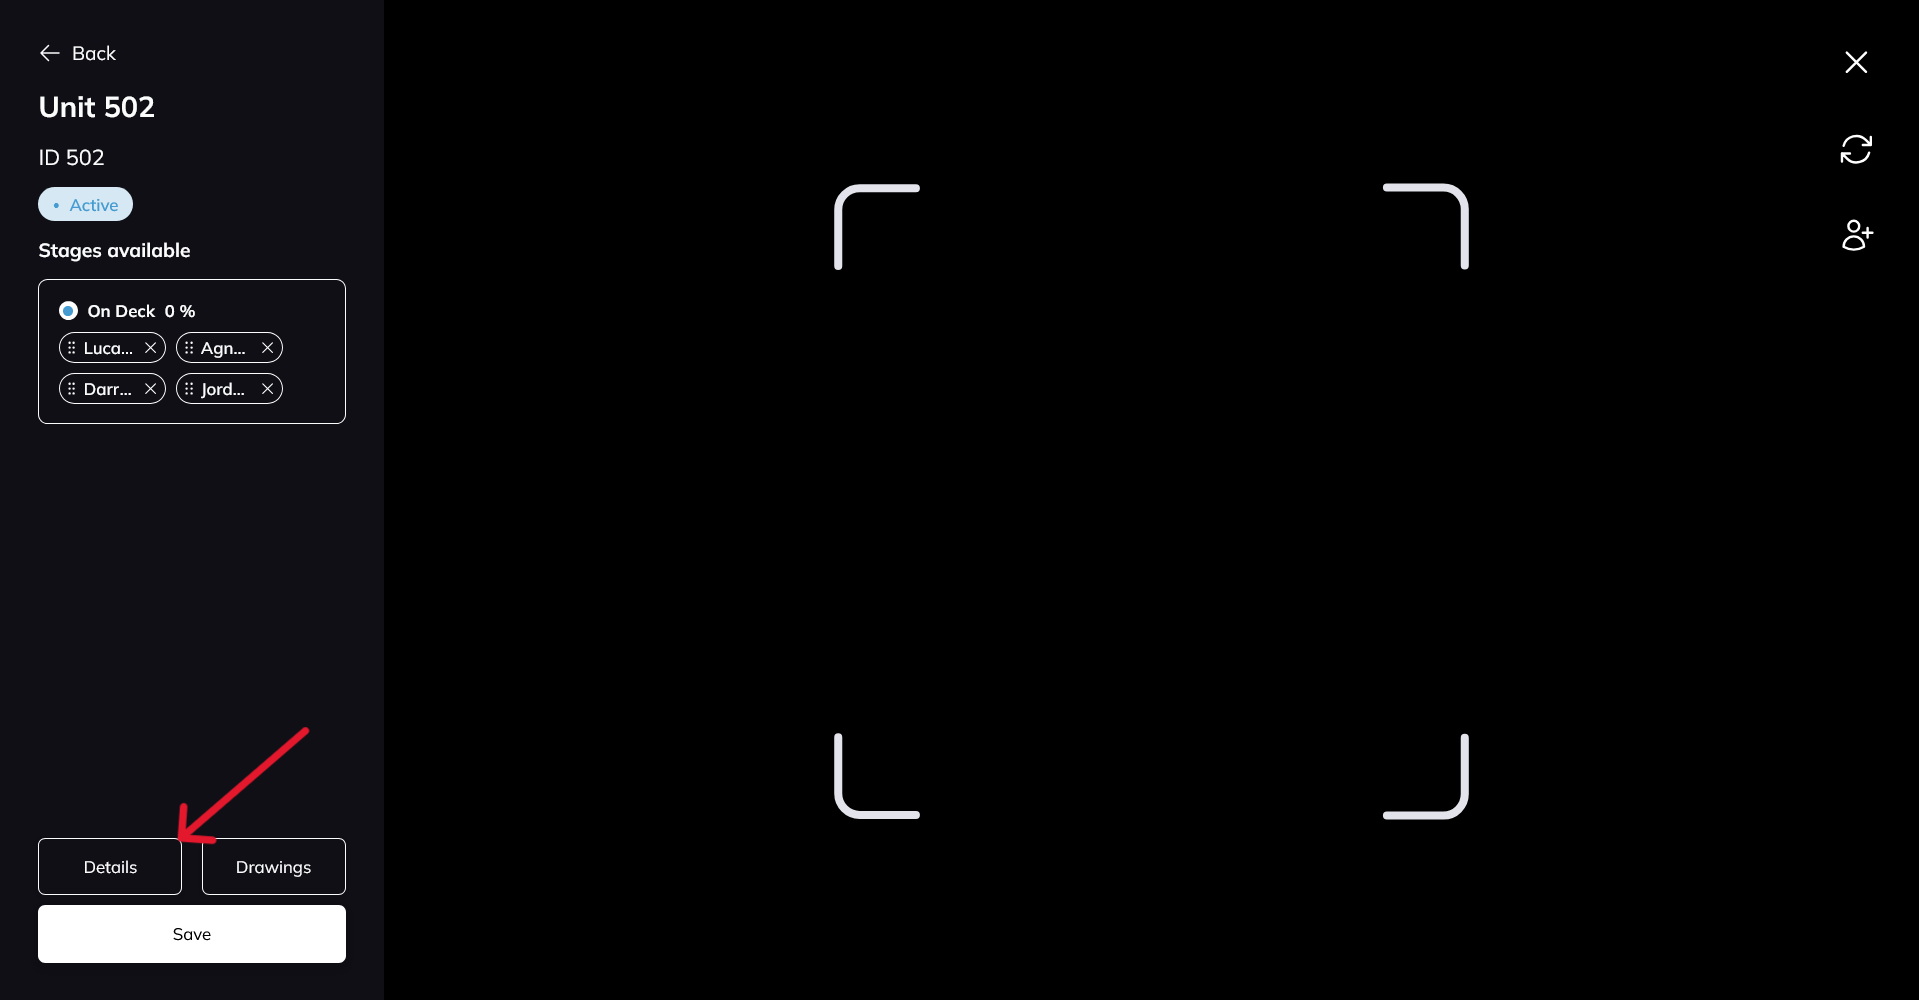
Scan the order’s QR code.
Click Details at the bottom left for the order’s key information and history.
Use Discussion to chat, call, or add notes against the order.
Tips and Tricks
Switching cameras. On a device with more than one camera, use the rotation button in the top right to swap between front and rear.
Scanning across departments. A person, order, or stage belonging to another department cannot be worked on here. Building Swell names the department it belongs to and tells you either to switch departments or to remove it from the scan so the rest can go ahead.
Check a sample. Scan one code after printing, before you distribute a batch.
Every scan records where it happened. Geolocation Events shows you that record.
Conclusion
Print the codes, put them on the drawings and on badges, and the floor can check in, open drawings, and read an order without touching a keyboard.
Video walkthrough
Using QR Codes
Printing QR Codes
Still need help? Ask the team