Creating and Scheduling a Delivery
Create the trip, load the cargo, and lay out the stops and transit legs.
Last updated 24 days ago
Introduction
A delivery is built in three passes. Create the trip, load the cargo, then lay out the stops. You can do all three in one sitting or come back as details firm up.
Creating a delivery
Open Logistics and click New delivery.
Adding cargo
Cargo goes on the Cargo tab of the delivery.
Orders
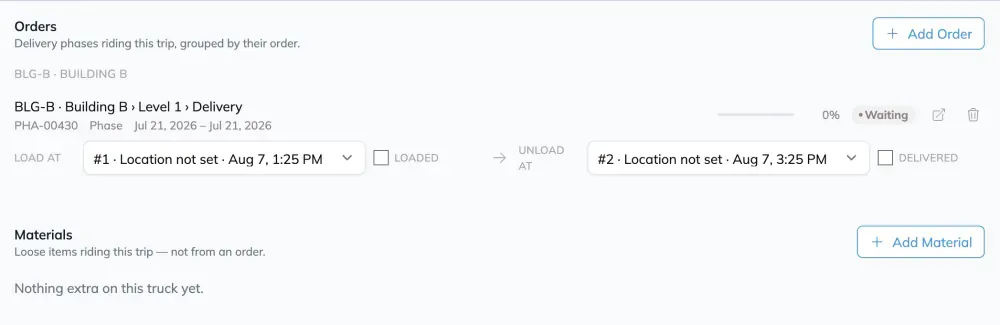
Click Add Order to load work that's riding along. Phases marked as delivery phases can be added. If nothing shows up, that toggle is the first thing to check.
Materials
Click Add Material for anything not tied to a phase. Straps, skids, tools, loose panels. Enter a name, a quantity and a unit. These are free text lines, so you don't need a catalog entry to add one.
From Planning
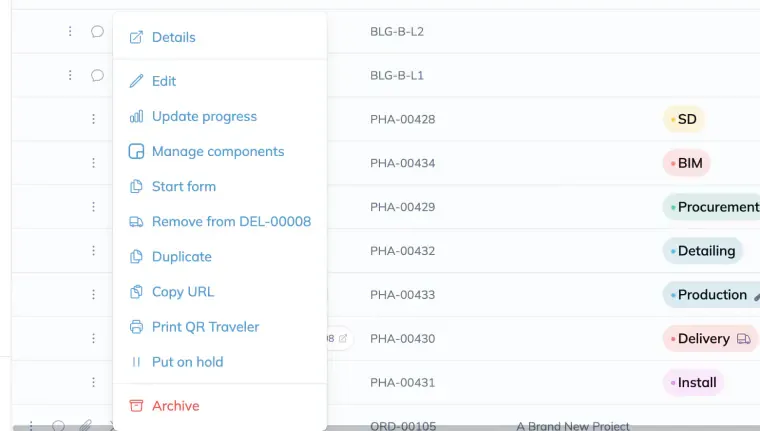
You can also work the other direction. In Planning, use Add to Delivery on an item to put it on an existing trip, and Remove from Delivery to pull it back off.
Building the itinerary
The Itinerary tab is the route. It holds stops and the transit legs between them.
Each stop has a service kind.
Give each stop a location and a planned window. Legs cover the driving between stops and can carry their own truck and trailer.
Stops can be resequenced, with two guardrails. A pack can't unload before it loads, and a stop already assigned to load or unload cargo can't have that action taken away.
When things lock
The cargo plan locks as soon as the trip could have started moving, meaning anything past Scheduled or Expected. After that you can't add, remove or reassign cargo, but Loaded and Delivered marks still work.
The itinerary stays editable longer. A trip in transit can still be resequenced. Once it's Delivered, Received, Cancelled or archived, the whole thing is read only.
Tips
Plan the trip before the cargo is finished. If the work won't be done in time, you'll get a warning rather than a silent problem on the morning of.
Build the itinerary even for a simple one stop run. It's what gives the driver navigation and a checklist on their phone.
Have additional questions? Contact Us
Still need help? Ask the team